Assembling a Drone - part 2

Let’s continue assembling our drone. Maybe you want to read before the first part. The steps of this post are:
- Connecting the motors
- Configuring our Beaglebone to read the signal of the receiver
- Connecting the RC receiver
- Calibrating our control
Connecting the Motors
What motor should be connected at what channel?. No problem, just follow the next connection order:
- CH1 -> Front Right motor
- CH2 -> Rear Left motor
- CH3 -> Front Left motor
- CH4 -> Rear Right motor
Configuring our Beaglebone to Read the Signal from the Receiver
The pin which we are going to use is mapped on pin 4 of connector E4.
Usually the same pin has different purposes (or modes).
With the state of pinmux you can select the pin’s behaviour.
Use config-pin -l [pin] to see the available states.
In order to get our Beaglebone Blue capable to read the signal incoming from the receiver we have to set the state of the P8.15 pinmux to pruecapin_pu.
To do that we can run the next command:
sudo /bin/echo pruecapin_pu > /sys/devices/platform/ocp/ocp:P8_15_pinmux/stateTo see the Beaglebone Blue pin table follow this link.
So far so good but we have to run the same command every time after boot up and that is not very nice.
The solution is to create a rc.local script in /etc/ folder.
This is an init script which is executed at the end of each multiuser runlevel.
If you want to know a little more about runlevels, please visit this link of linux foundation.
It is a little old but after read it you can understand better about them.
Let’s create the file using your preferred text editor (actually on my desktop computer I am using nvim 😀).
sudo vim /etc/rc.localThe file should look like this:
#!/bin/sh -e
#
# rc.local
#
# This script is executed at the end of each multiuser runlevel.
# Make sure that the script will "exit 0" on success or any other
# value on error.
#
# In order to enable or disable this script just change the execution
# bits.
#
# By default this script does nothing.

/bin/sleep 10
/bin/echo pruecapin_pu > /sys/devices/platform/ocp/ocp:P8_15_pinmux/state

exit 0
__ Do not forget to give it execute permission __
sudo chmod +x /etc/rc.localAdding UART pins for GPS and automatic start ArduCopter
Because we are dealing with this script now I think it is appropriate to change the state of the P9.21 pinmux and P9.22 pinmux in order to use both for the UART which will be connected to the GPS. For that please add the next two lines on the file:
/bin/echo uart > /sys/devices/platform/ocp/ocp\:P9_21_pinmux/state
/bin/echo uart > /sys/devices/platform/ocp/ocp\:P9_22_pinmux/state
And If you want to run ArduCopter automatically after boot, add also:
/home/debian/arducopter -B /dev/ttyO2 -C /dev/ttyUSB0 > /home/debian/arducopter.log &Finally the file should look like:
#!/bin/sh -e
#
# rc.local
#
# This script is executed at the end of each multiuser runlevel.
# Make sure that the script will "exit 0" on success or any other
# value on error.
#
# In order to enable or disable this script just change the execution
# bits.
#
# By default this script does nothing.

/bin/sleep 10
/bin/echo uart > /sys/devices/platform/ocp/ocp\:P9_21_pinmux/state
/bin/echo uart > /sys/devices/platform/ocp/ocp\:P9_22_pinmux/state
/bin/echo pruecapin_pu > /sys/devices/platform/ocp/ocp:P8_15_pinmux/state
/home/debian/arducopter -B /dev/ttyO2 -C /dev/ttyUSB0 > /home/debian/arducopter.log &

exit 0
You can see Mirko’s page for more details and there you can find also another way to configure the pins using Systemd based startup.
Running ArduCopter with your smartphone
Let’s say that you want not ArduCopter to start automatic but instead you want do it manually with a SSH client from your smartphone. If this is the case, please follow the next steps:
- Comment the line of
rc.localthat runs ArduCopter - Install on your phone a SSH client. I am using JuiceSSH.
- Connect your phone to Beaglebone access point:
- SSID: BeagleBone-####
- Password: BeagleBone
- Configure your SSH client to connect to the IP 192.168.8.1
- Login and run the next command:
sudo setsid /home/debian/arducopter -C tcp:192.168.8.1:9761 >/dev/null 2>&1 < /dev/null &This will run ArduCopter in background, redirect the stderr and stdout to /dev/null, take the stdin from /dev/null and the process will be independent of the current SSH session.
Connecting the RC Receiver
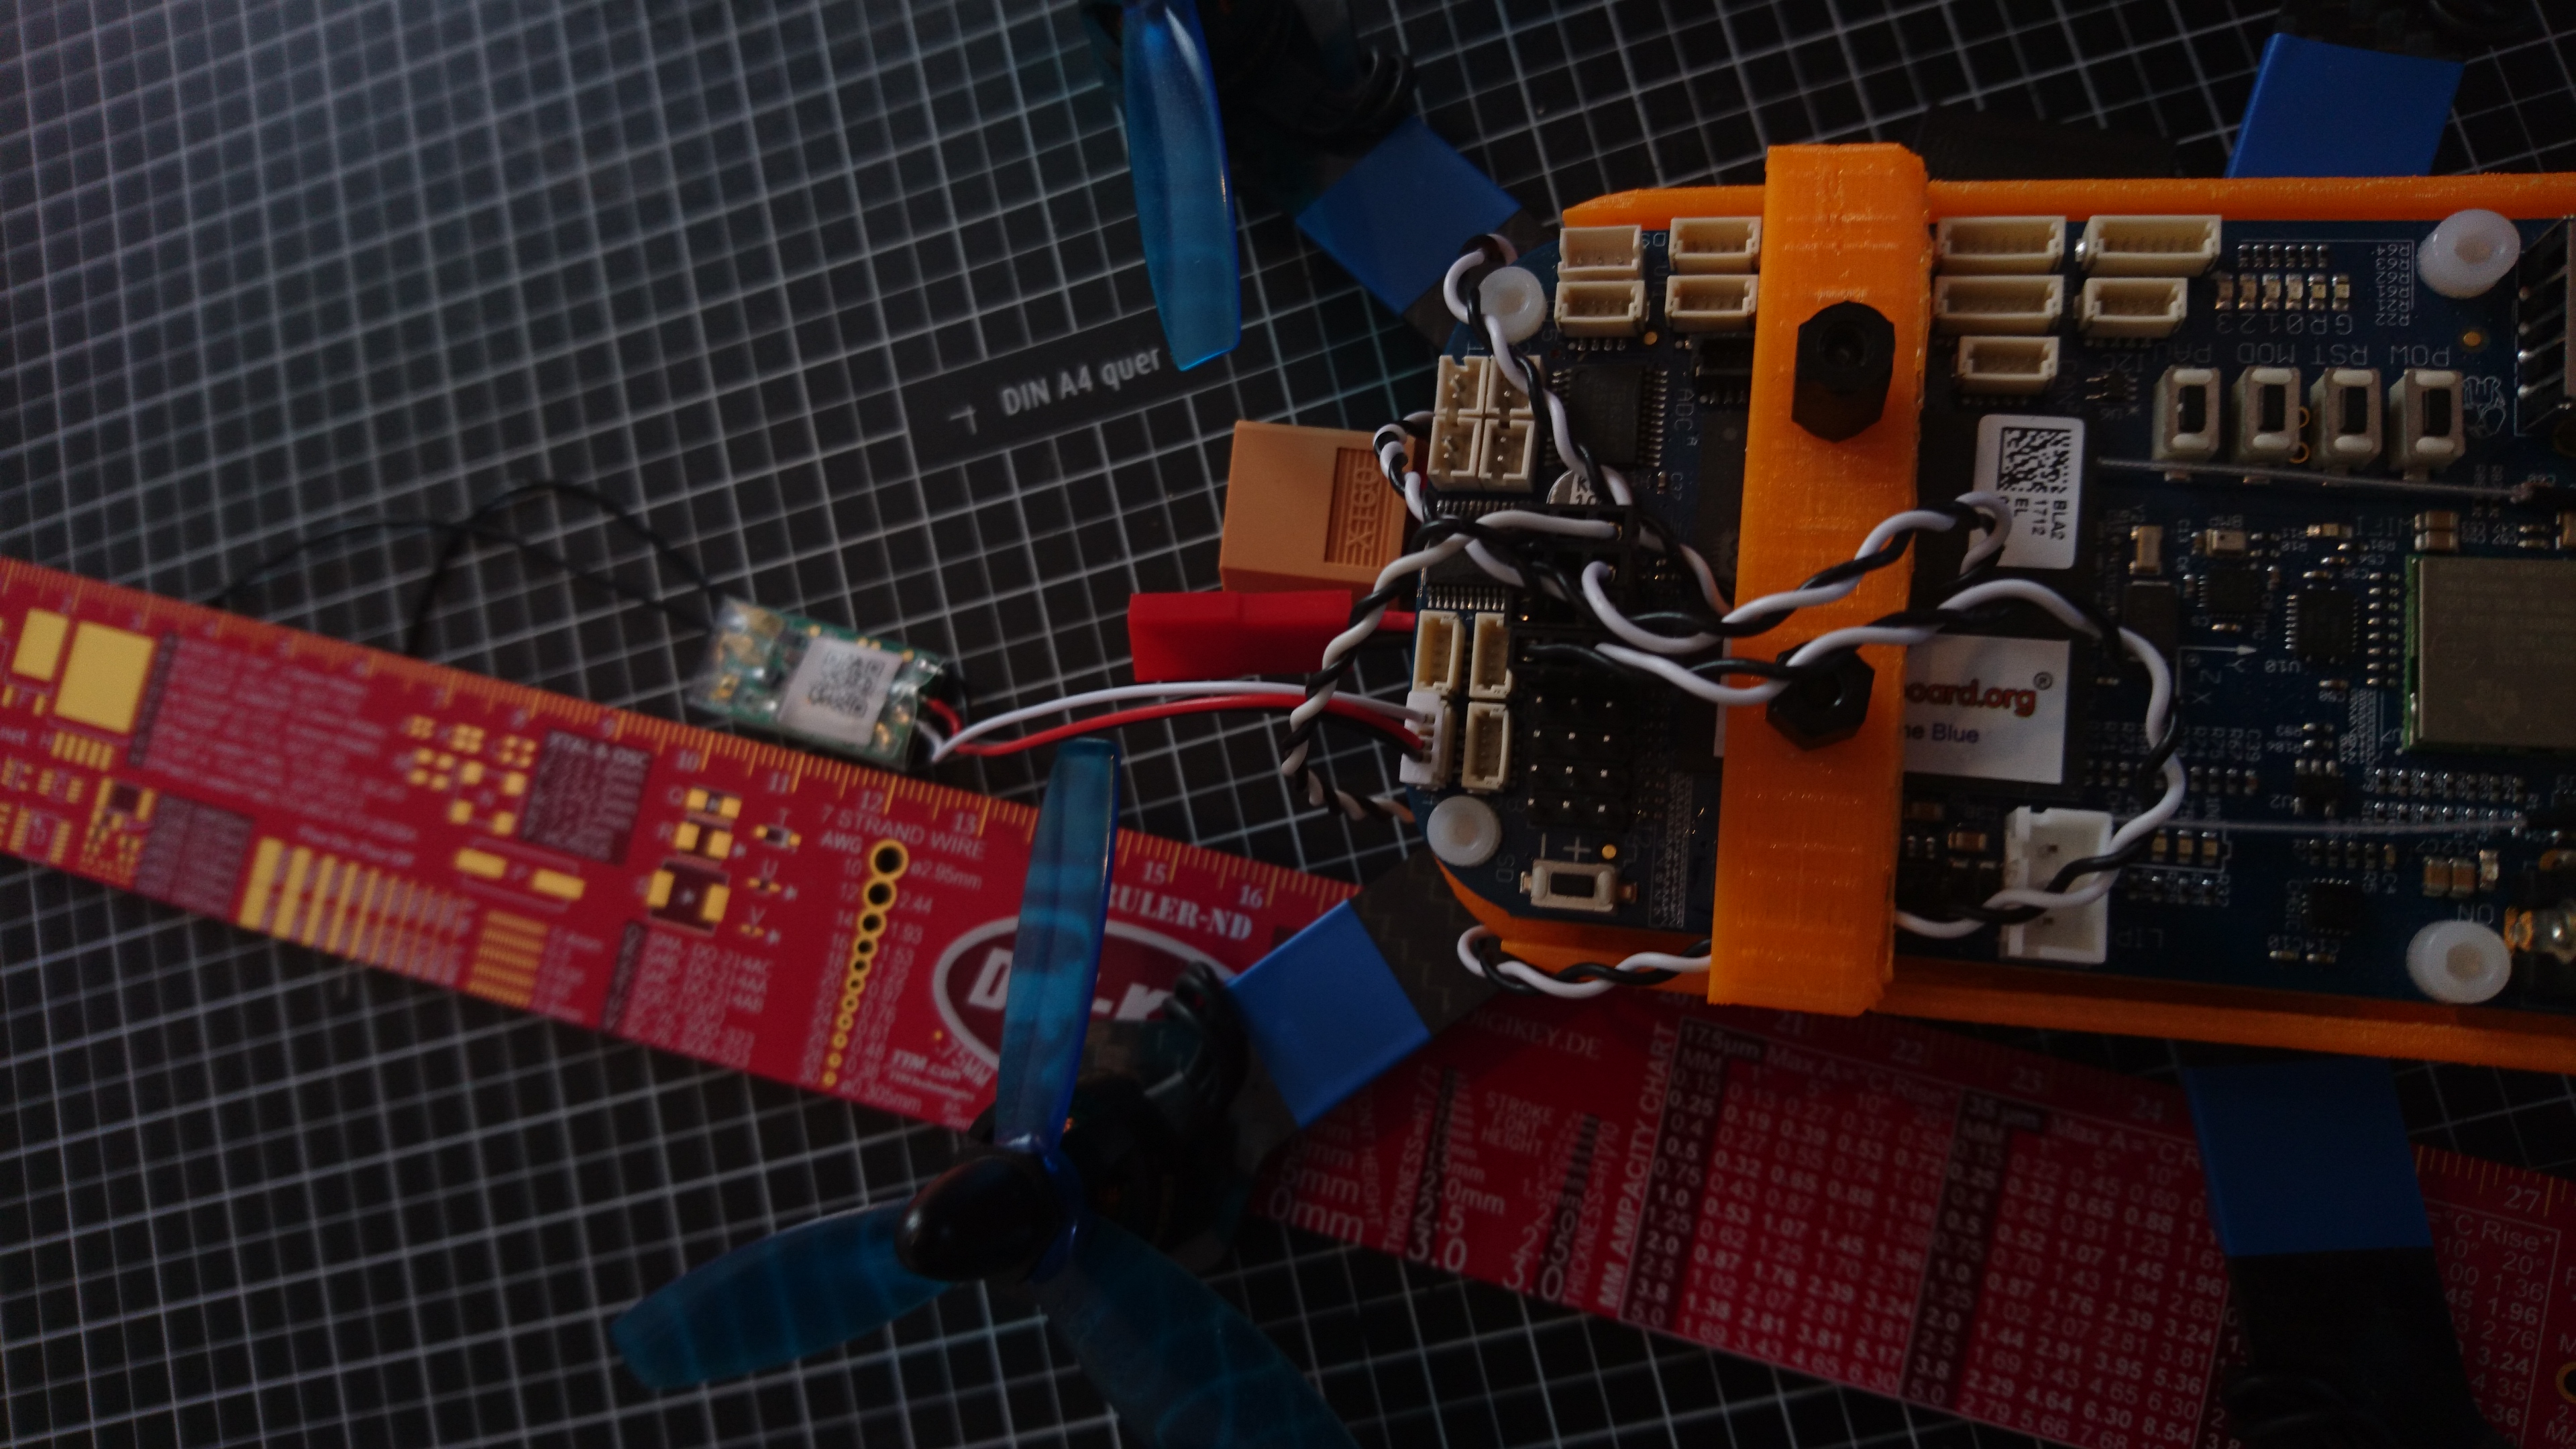
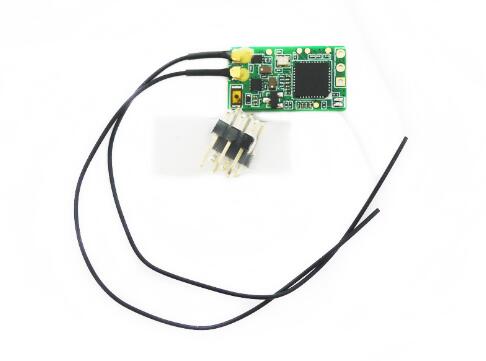
What receiver should be used?. When we are speaking of small setups we know that size and weight really matter. I am using a XM+. It is only 1.6g! and also its protocol is SBUS, which is supported for ArduCopter.
Please be sure the output signal doesn’t exceed 3.3V
As described before we are going to use the pin 4 of connector E4. This connector has power lines to supply the receiver too:
- Pin 1: GND
- Pin 2: 3.3V

(Image from frsky-rc)
For more info, for example compatible protocols, visit receiver section of Mirko’s page.
Calibrating our Control
To calibrate our control we are going to use Mission Planner.
The first step is getting connected our Beaglebone Blue with Mission Planner. Pay attention that your pc and the Beaglebone should be connected at the same network. Also make sure that you are configuring the same port.
Once this is done the rest is only to follow the wizard.

One of the steps is the radio calibration:

For more info you can visit Mission Planner Features/Screens.
 moyano.pro